Zapier is a tool that enables the transfer of data from one web app to another one. Set up a Zap workflow to connect different apps, using a specified event as the trigger for starting the workflow.
You'll need this:
-
One of these Pointerpro plans:
![]() Professional
Professional ![]() Enterprise
Enterprise ![]() ReportR
ReportR ![]() DistributR
DistributR
Zapier's free plan allows you to create 5 zaps, then you would need a paid subscription. You can find the plans and pricing here.
You can send the data collected within your survey to create contacts or send data to apps such as Google Sheets, Mailchimp, Salesforce, Trello, and many more. For example, transfer email addresses collected in a survey to a Mailchimp email list.
On this help guide page:
- Turn on integration in your questionnaire
- Create your connection or Zap
- Link a specific survey to a Zap
- What should occur after a new survey response
- App returned 'unauthenticated error
If your survey has 50 or more questions, we recommend using Make (formerly Integromat) instead of Zapier because Zapier has a limitation of 1000 available variable fields. In case your survey has more than 50 questions, the limit of 1000 fields can be reached.
Before you can get started with Zapier, you have to create your survey. Once you've done that and have collected one response, you can continue with the integration.
1. Turn on integration in your questionnaire
Go to the Extra Options tab, scroll down to Integrations and click Zapier. Toggle the button to activate it.

Make sure that you have already collected a new response (not on preview mode) so that it can be used as test data when you connect your questionnaire to Zapier. You can delete this response afterwards if you wish.
2. Create your connection or Zap
Log in to Zapier if you already have a personal account or create a new one.
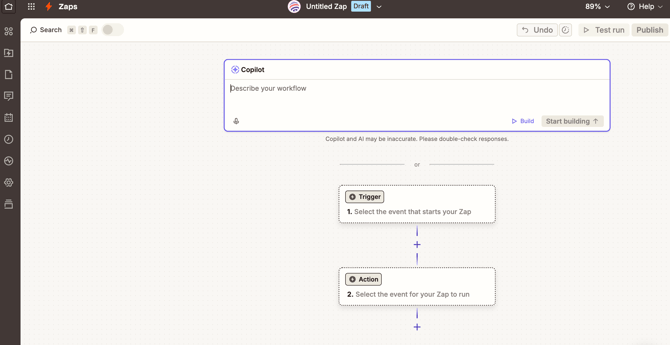
Once you log in, click +Create a Zap at the top left of the page.
Click on Trigger and type Pointerpro in the search box to find it in the list of apps.
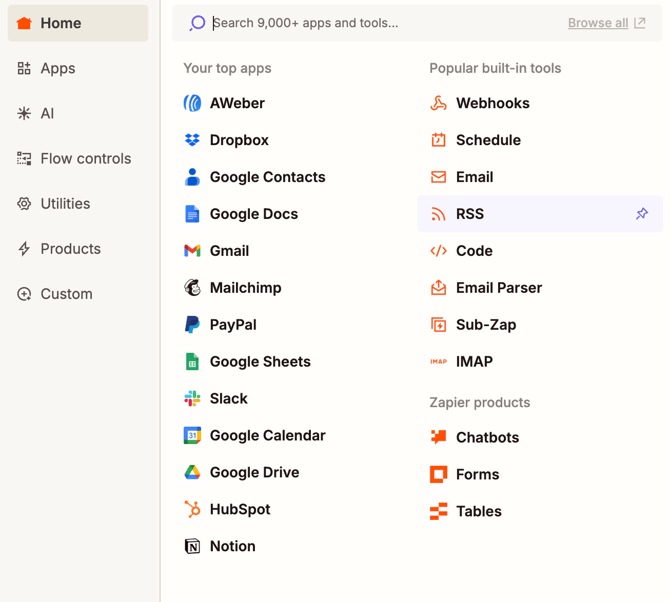
Then click on Pointerpro to select it.
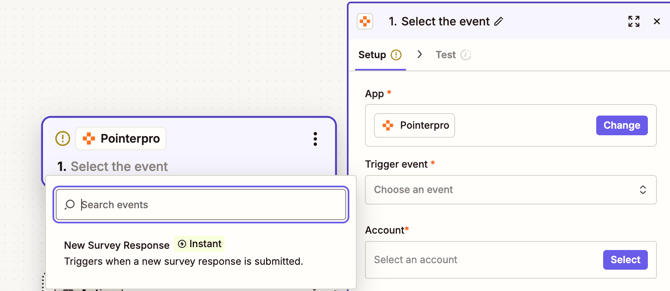
The trigger event will be New Survey Response. Select it from the dropdown and click Continue.
At the Choose account tab, choose an account or create a new connection by clicking the +Connect a new account button.
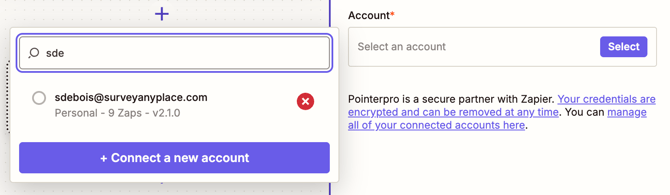
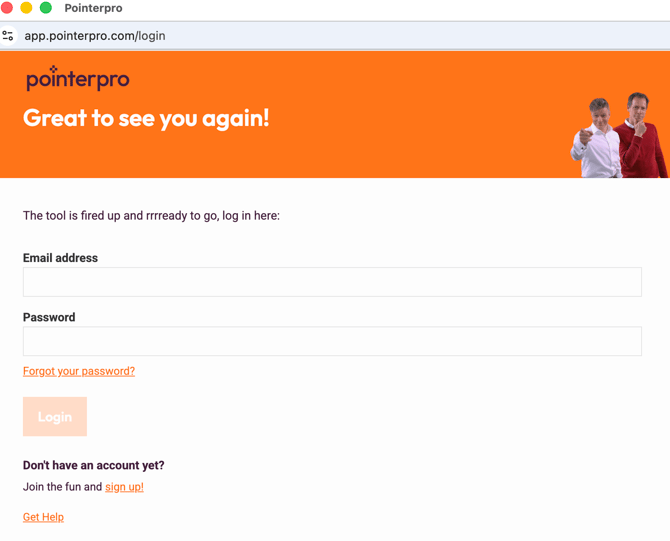
A new window will open, where zapier will ask you to login to Pointerpro.
Once you log in, you will be able to select the account from the dropdown and continue.
3. Link a specific survey to a Zap
Next, we need to select which survey will be the trigger to the event. Click on the arrow to access all surveys in Pointerpro for which you have activated the Zapier connection. Choose the required survey or add the suffix at the search tab.
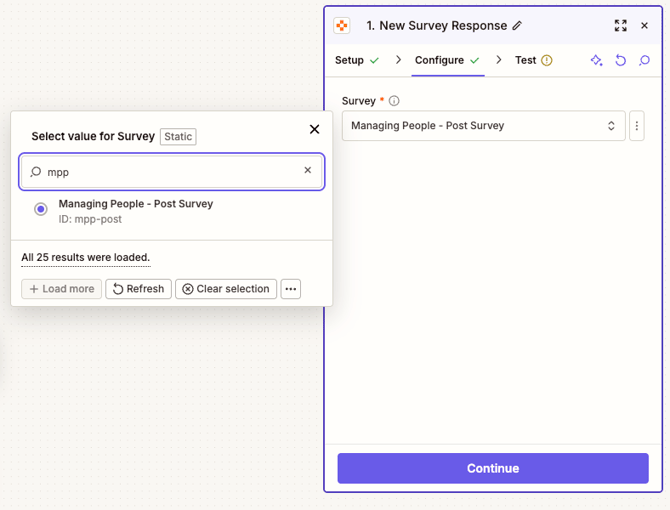
Click Continue.
Click Test trigger to allow Zapier to test the connection.
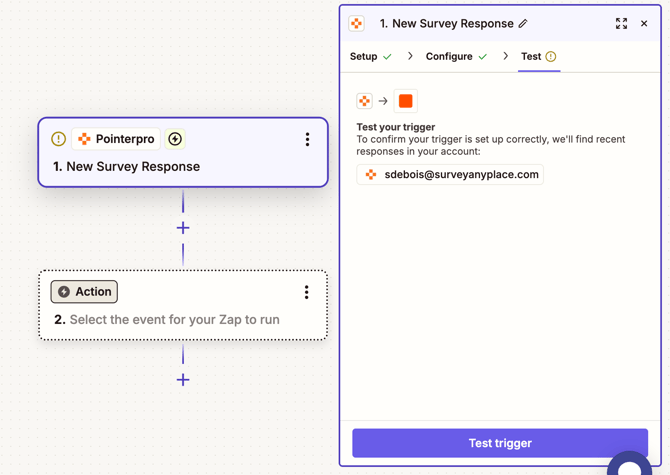
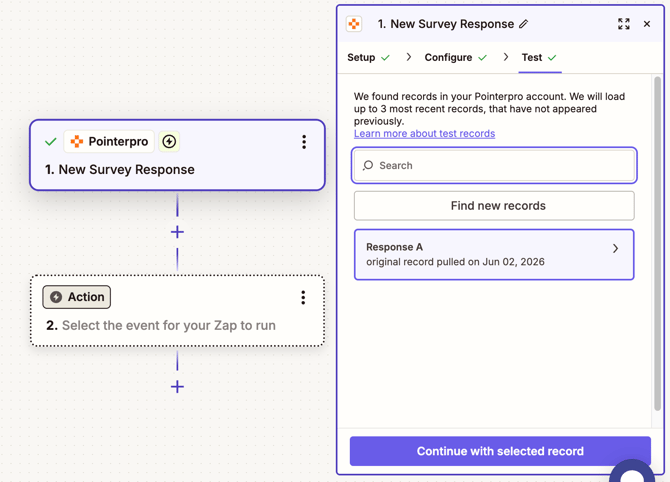
Once it has pulled up a response, click Continue with selected record to setup the action.
4. What should occur after a new survey response
You can choose from dozens of apps to create the event that will occur after a trigger. We'll focus on how you can set up an event to occur in Pointerpro that will create a new contact.
Click the Pointerpro icon or search for Pointerpro at the search tab.

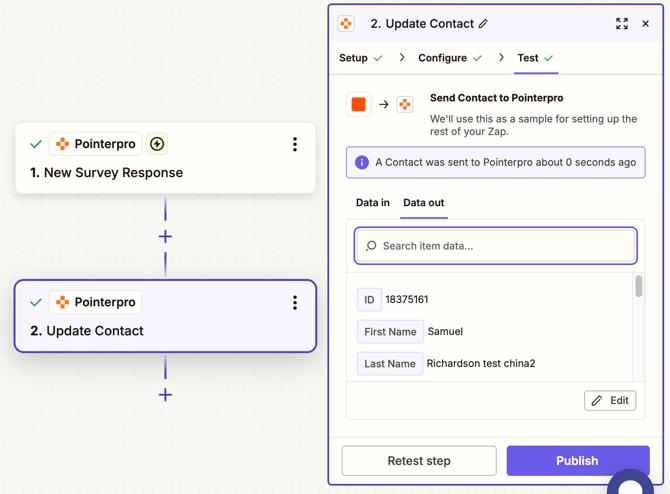
Click the drop-down arrow to choose the Update Contact event. Click Continue.

Now you need to specify where the data to fill the contact data fields should be taken from. Click in the contact field, and select the variable from the drop-down list. If you have asked respondents for their contact details at your intro screen, then you'll need to select intro field 1 (CF1) at the First Name field, intro field 2 (CF2) response at the Last name and intro field 3 (CF3) response at the email field.

Once you fill all the fields, click Continue so you can test the settings that you've set up, by clicking Test Action (recommended). If you want to skip this step, just click Skip Test.

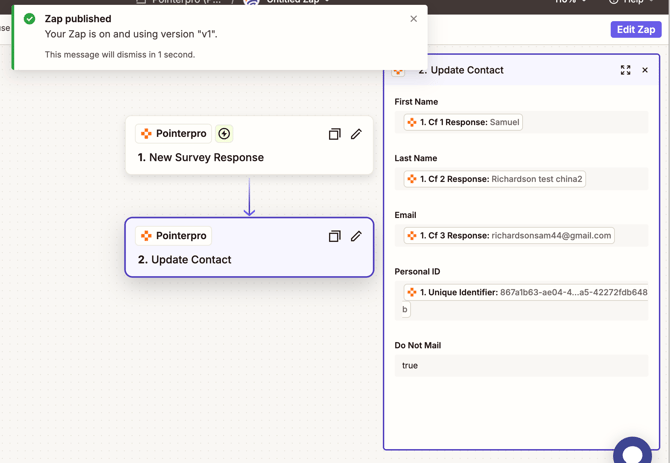
Your Zap is ready to go. Click on the Publish & Turn On button to turn it on when you're ready.
Note that when you activate the Zapier connection in Pointerpro for a specific questionnaire, you'll see a list of possible workflows that you can setup. To create a zap based on one of the Workflows, you click Use this Workflow and follow through with the instructions above to set an event to occur after a new response is received.
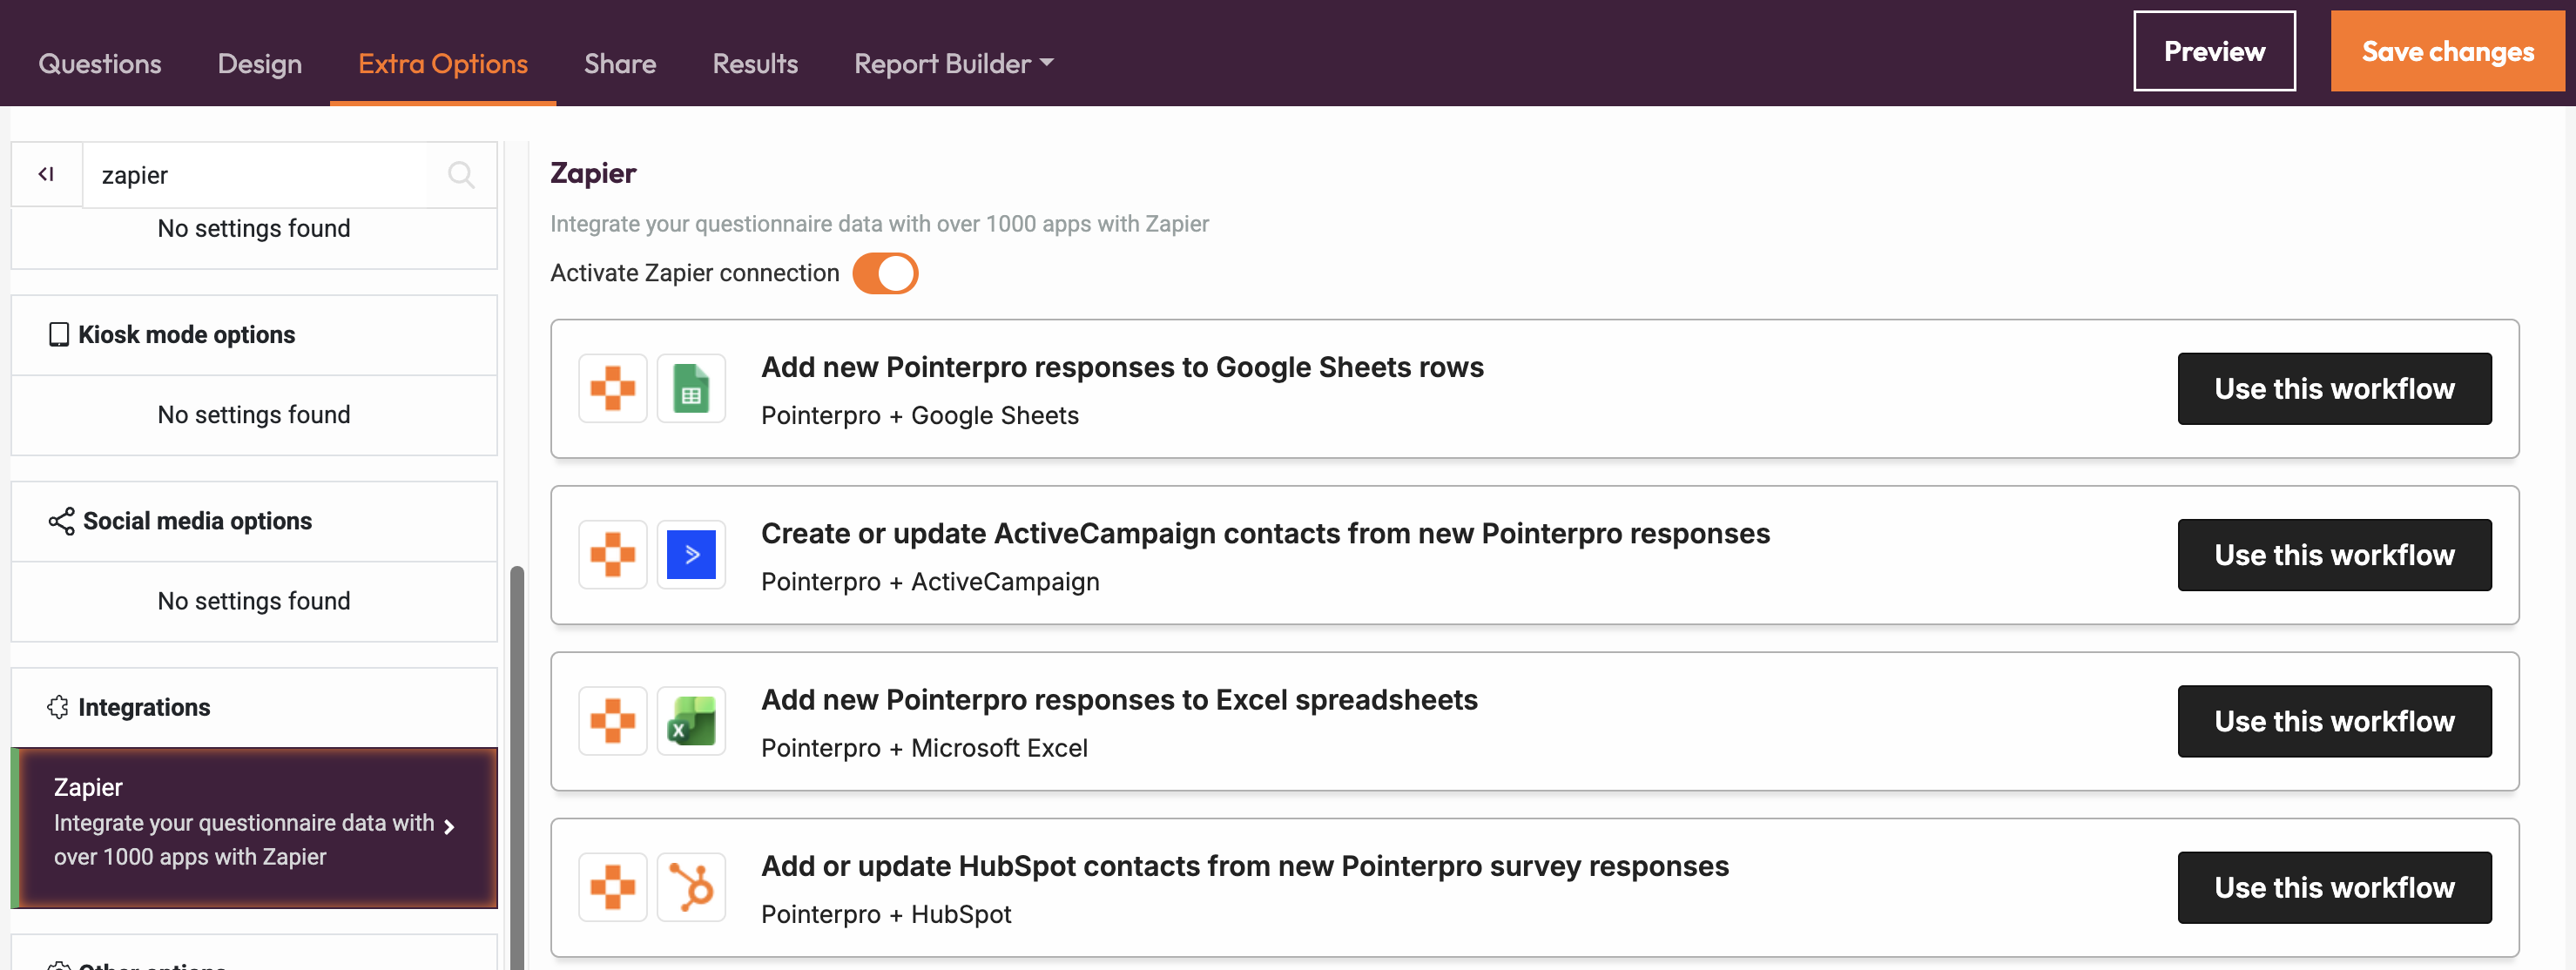
Make sure to click Save changes when you're done!
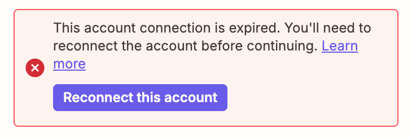
5. App returned 'unauthenticated' error
If an error like this appears, make sure to relink your Pointerpro account with Zapier.
What's next?
- Integromat allows you to automate many processes and simplifies the transfer of information between apps, saving you bags of time! Integromat offers similar features to Zapier but is more powerful as you can set a single event to trigger a number of different actions to be taken simultaneously.
- External fields allow you to pull in data from external data sources, such as a spreadsheet. This is useful if you want to read data from an external data source, for example, cell values from a Google sheet, use these values in variable data in the PDF report, or a more advanced use would be to use the Google sheet as a bi-directional database, whereby the same survey will also send data to the Google Sheet. This would allow the benchmark cell value referenced to be adjusted automatically as new responses are received.
- Google Tag Manager is a tag system that can be used for tracking and analytics on websites. It can be used to track respondents' behavior in your survey or to find out how effective an advert promoting your survey has been.