You'll need this:
-
One of these Pointerpro plans:
![]() Professional
Professional ![]() Enterprise
Enterprise ![]() ReportR
ReportR ![]() DistributR
DistributR
Adding images to your reports, in some cases, can provide more detail than words and it can be a great way to display information!

Are you wondering how to get started with building your own assessments with personalized feedback? Try our onboarding cookbook: a tool that provides you with a personalized cookbook of all the information and Pointerpro features to build what you need. Start the assessment
On this help guide page:
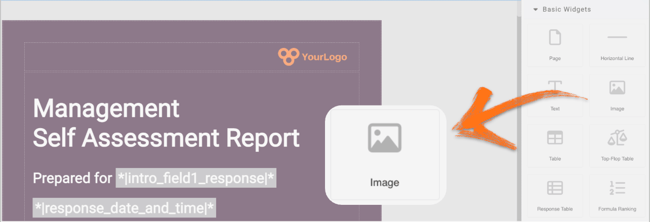
1. Add an image
To add an image widget to the page, all you have to do is click on it and drag and drop it on the page.
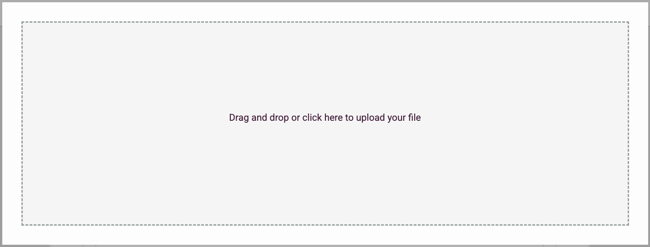
A pop-up window will open where you can drag and drop or upload your image file.
Note that uploaded images are compressed to some degree. Keep in mind that there may be some minor quality loss. In visuals this is hardly noticeable but you might notice it in the text inside of your image.
Uploaded images can be up to 2MB in size. When the image is larger than 800 by 800 pixels, it will be resized so the largest dimension is 800 pixels.
Example: 1000x500 pixels will be scaled down to 800x400 pixels.
Images containing small or thin text are the most sensitive to noticeable quality loss. We recommend putting the text inside of a text widget and uploading the image as a background to the widget as explained here.
2. Additional settings
Select the widget and then at the right of the screen click on the Settings button. The widget list will be replaced by the additional settings.
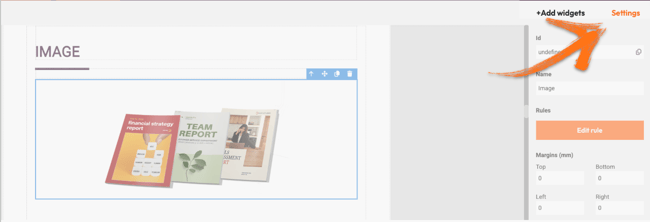
Here you can find the following settings:
1. ID
This is the ID of the widget. You can use this to target this specific widget if you're adding CSS to your report.
2. Name
You can name your widget in order to identify it easier.
3. Rules
You can add your widget logic rules to ensure that your content will be visible only when the conditions are true.
4. Margins
Add margins to create space around elements and move them in your page. By default the margins are set to 0, but you can change that anytime and add the margin you prefer.
5. Image settings
Here you can change the dimensions of your image. If you want to stretch the image, then you have to disable the 'Keep ratio' toggle. You can also horizontally align your image within the widget.

6. Link
You can add a clickable hyperlink to your image. When you download your PDF and you click the image, you will be redirected to the link you added.

7. Borders
You can add borders, select the color, the style and the line width.
3. Additional buttons
When you click on your widget four blue buttons appear to the right.
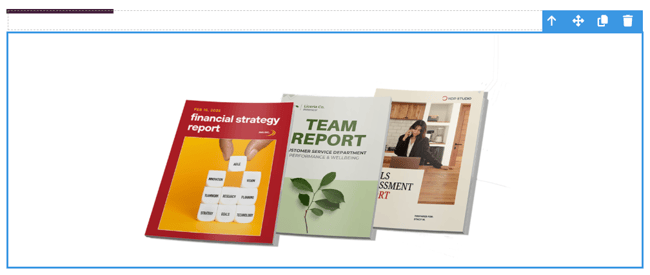
The Arrow allows you to move between the different layers of the page. For example if you add a widget in a column then you have 3 layers: the page, the column and the widget. The arrow allows you to quickly select a different layer.
The second icon, the four arrow sign, allows you to move your widget up or down to the page.
The third icon, the page, allows you to copy this widget and the forth icon, the bin, to delete it.
What's next?
- Report Builder - PDF step-by-step example: Check out our step by step guide to create an attractive and stylish PDF. It includes videos but also very detailed instructions.
- Basic Widgets: Table: The Table widget allows you to display results clearly and concisely to your respondents. It is an easy and fast way of displaying any data in rows and columns. Rather than writing your data in text, you can make it more understandable and easy to read with this widget.
- Basic Widgets: Text widget: The Report Builder text widget allows you to write and display your content in your report. You can use it to give further information about questions, give feedback or explain a particular answer. This is an absolutely essential building block of your PDF report.
Don't want to build it yourself? Contact our professional services team
